Application management
Delegated User Management v2 allows you to protect access to applications. The applications can be federated in the OneWelcome Identity Platform, or they can be non-federated applications. When you configure an application, you define permissions for the application.
Access to the applications is controlled through Delegated User Management authorization rules, and constrained through access roles that include the application permissions that you define.
Federated and non-federated applications
Applications can be federated or non-federated:
-
Federated applications are the SAML and OIDC or OAuth applications that are configured for federation in the OneWelcome Identity Platform. When a user tries to access the application, the application determines that it needs to refer to the OneWelcome Identity Platform to provide authentication and grant access. The status of federated applications comes from the OneWelcome Identity Platform.
-
Non-federated applications are integrated through APIs and are not configured for federation in the OneWelcome Identity Platform. Access is granted through some other means, such as APIs, a proxy, or some intermediary between the OneWelcome Identity Platform and the application.
The status of federated applications is managed by the OneWelcome Identity Platform. You set the status of a non-federated application in Delegated User Management. For details, see Make an application inactive or active.
Add an application
Only administrators in the root organization can add applications. Applications are defined for the tenant.
Each application has a name, an external identifier, and permissions that you can include in access roles. The applications can be non-federated or federated in OneWelcome through protocols such as OIDC, SAML, or OAuth.
-
From the root organization, in the left pane, select Applications.
-
On the Applications page, select Add application.
-
Select one of the following:
-
Federated application: Select an application that is already configured for federation in the OneWelcome Identity Platform.
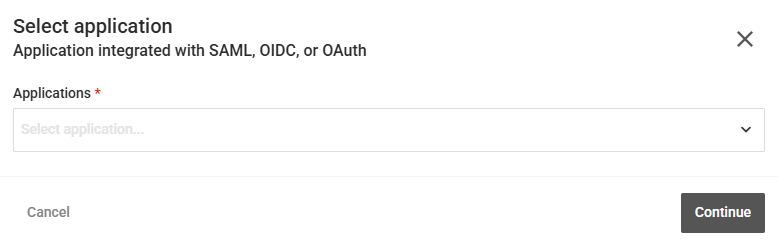
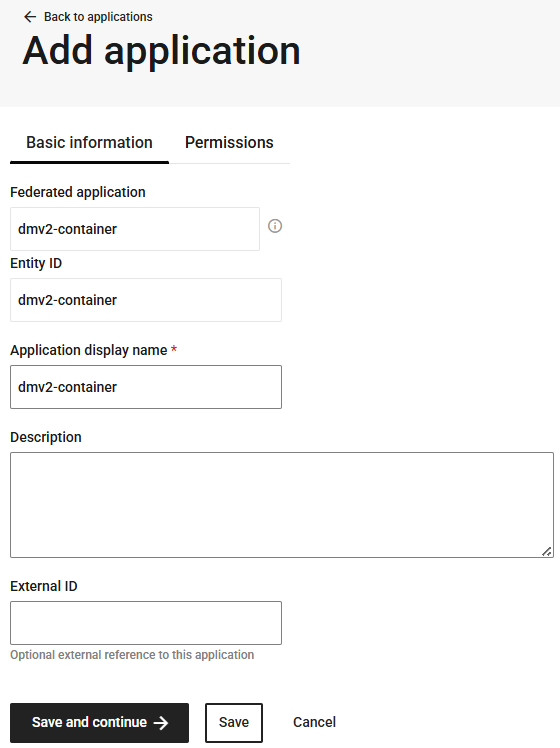
When you add a federated application, the Add application page already has this information:
-
Federated application: The application that you selected.
-
Entity ID
-
-
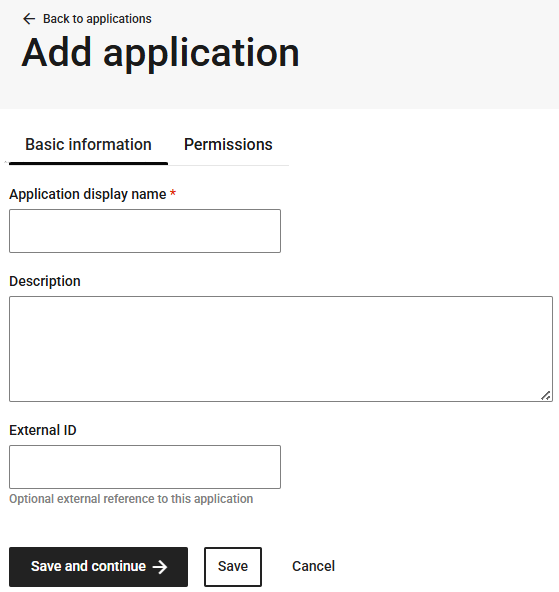
Non-federated application: Define an application that is integrated through APIs and is not configured for federation in the OneWelcome Identity Platform.
-
-
On the Basic information tab, enter the Application display name and (optional) description.
The name must be unique among the applications in the organization. If you enter a name that is already in use, the system displays a message indicating that an application with this display name already exists.
-
Enter the Application URL.
The URL must be a valid web address that starts with
https://. -
(Optional) To make the application available to users in the Self Service portal, select the Show application in Self Service portal check box.
-
(Optional) Add an Application Icon.
Drag and drop an image file onto the upload area, or select Browse file and choose a file. The icon identifies the application to users.
Requirement Description File type SVG (preferred), JPG, PNG, WebP, or TIFF. Dimensions JPG and PNG images must be exactly 256 × 256 pixels. Use an SVG for any other size. File size The file cannot exceed 512 KB. 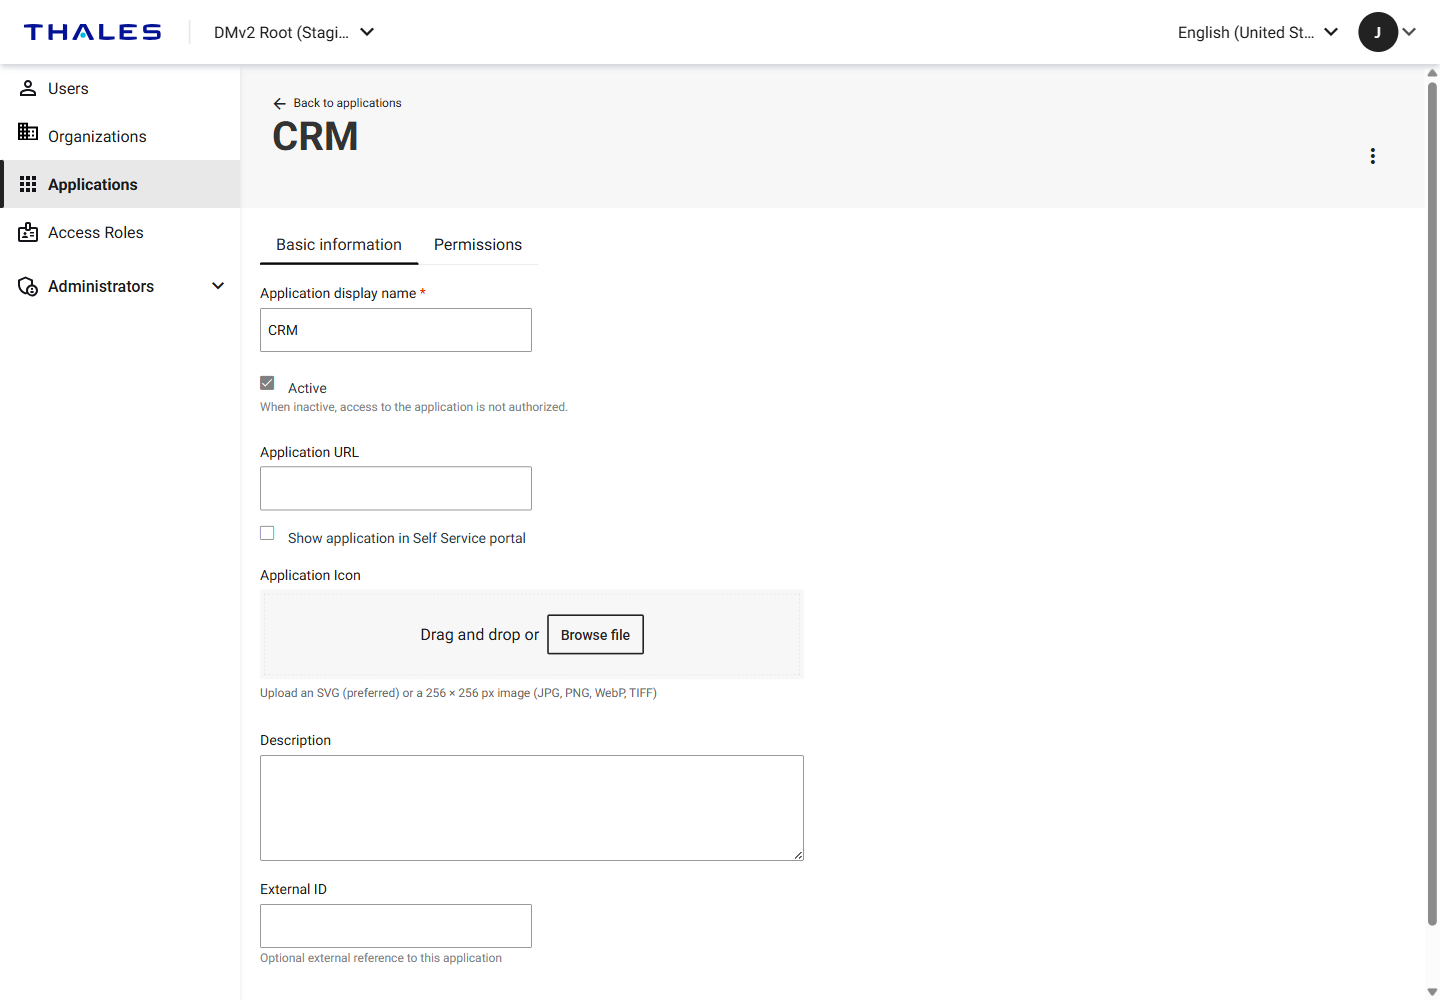
-
(Optional) Enter an External ID.
The external ID is an attribute that can help with your own referencing of the application.
-
Save the application:
-
To add permissions now, select Save and continue.
The system saves the application and opens the Permissions tab.
-
To add permissions later, select Save.
The system saves the application and returns to the Applications overview page.
-
Add permissions
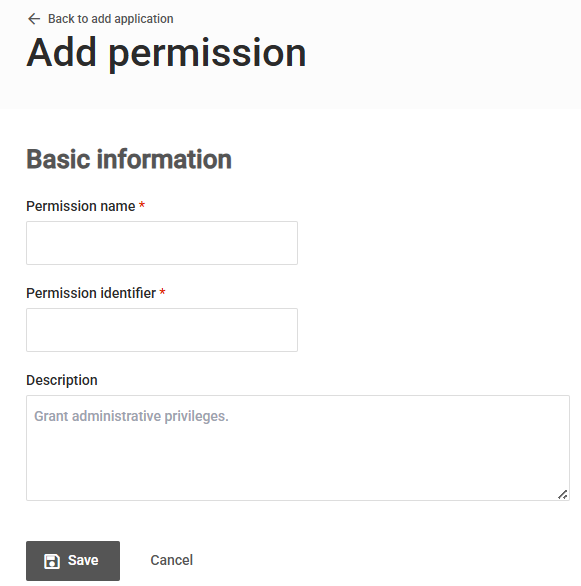
Each permission has a name, a value, and an optional description.
For federated applications, the value is the permission descriptor or identifier that is included in the access token that is sent to the application.
For non-federated applications, APIs can retrieve permission descriptors, to determine what a user is entitled to do in the application.
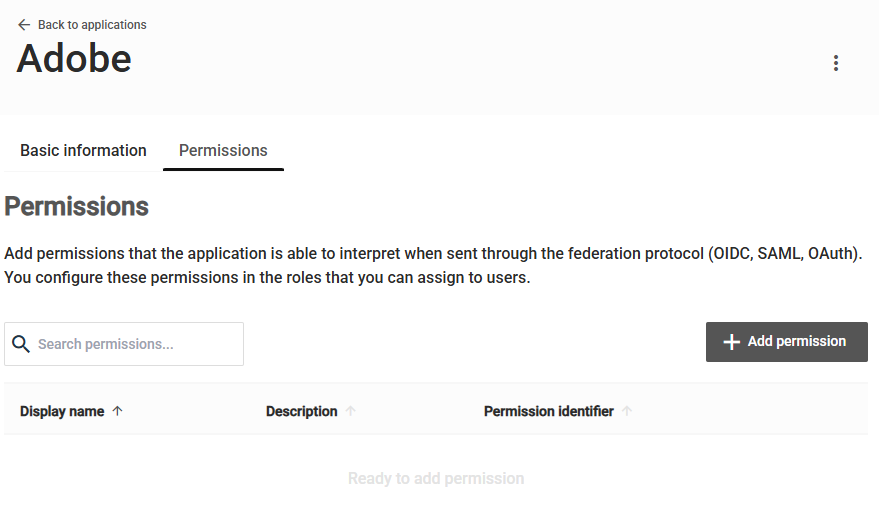
Each application must include at least one permission.
-
On the Permissions tab, select Add permission.
-
On the Add permission page, enter a Permission name that is unique within the application.
-
Enter a Permission identifier.
The identifier is a value that can be injected into an access token or return attribute, and interpreted by the application that receives it.
-
(Optional) Enter a Description.
The description is helpful for administrators who create access roles for different categories of users.
-
Select Save.
Edit an application
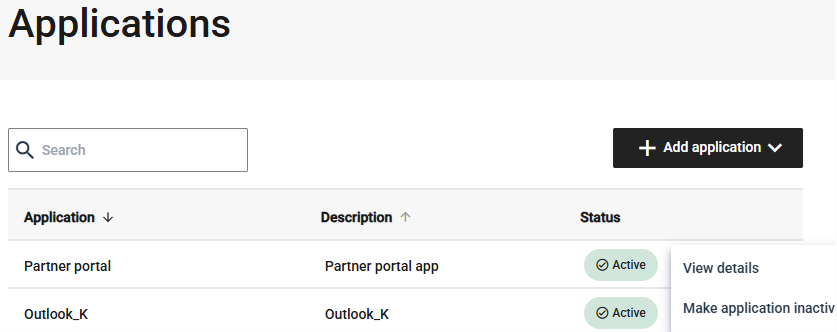
On the Applications overview page, in the menu for the application, select View details and update the application.
Make an application inactive or active
Users can access only active applications. Inactive applications are unavailable to users but remain in the system.
Make an application inactive or active in either of the following ways:
-
On the Applications overview page, in the menu for the application, select Make application inactive or Make application active.
-
On the application details page, on the Basic information tab, select or clear the Active check box, and then select Save.
Delete an application
Deleting an application removes it from the system. This action cannot be undone.
You can delete an application only if it is not assigned to any users. If the application is assigned to one or more users, the system reports that it cannot be deleted. To delete the application, remove it from the access roles that grant it, and then delete the application.
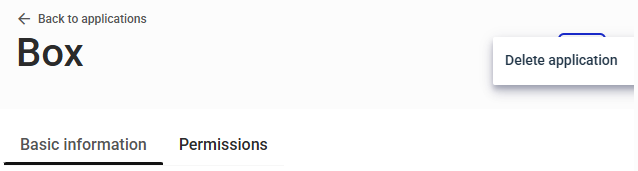
On the application details page, in the top-right menu, select Delete application.
Edit permission details
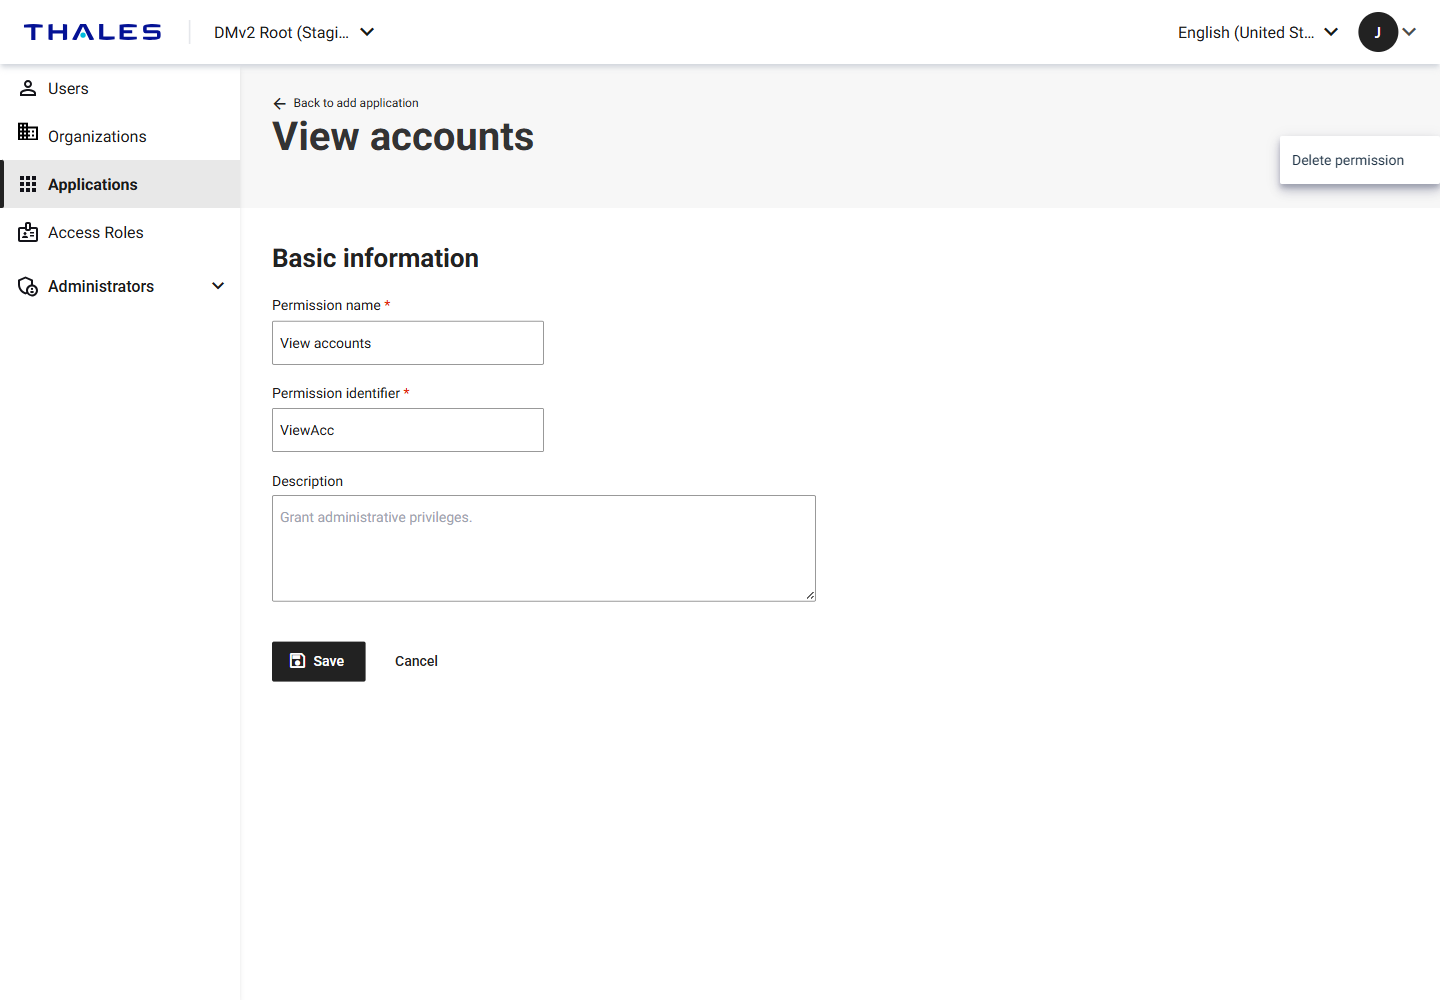
On the application details page, in the menu for the permission, select View details and update the permission.
Delete a permission
Deleting a permission removes it from the application. This action cannot be undone.
You can delete a permission only if it is not assigned to any users. If the permission is assigned to one or more users, the system reports that it cannot be deleted.
-
On the application details page, select the Permissions tab.
-
In the menu for the permission, select View accounts.
-
On the permission details page, in the top-right menu, select Delete permission.