



User-Based FIDO Assignment via URL
This custom workflow enables a third‑party application to open a dedicated assignment URL that includes a session ID. When the assignment page loads, the workflow retrieves the user details associated with the session ID, maps the user to the tenant’s default identity provider (IdP), and allows an administrator to select a connected FIDO device for configuration and enrollment for that user. This workflow is intended for scenarios in which an external system initiates FIDO device assignment for a known user. It minimizes navigation by providing direct access to device configuration and enrollment.
Prerequisites
Ensure that the following prerequisites are met before using this workflow:
-
Install and run the Thales Authenticator Lifecycle Service on the local workstation. The assignment page requires an active connection to discover and manage connected FIDO devices. For setup instructions, refer to Thales Authenticator Lifecycle Service section.
-
Configure at least one identity provider and set the tenant’s default IDP in Thales Authenticator Lifecycle Manager. For configuration details, refer to the FIDO Provisioning and Integrations sections.
-
Connect at least one FIDO device to the workstation.
FIDO Device Assignment Workflow Steps
-
In a web browser, open the assignment URL provided by the third‑party application. The URL includes a session ID (for example, /assign-user/<session-id>). The session ID identifies the user to whom the device is assigned and is associated with the serial numbers of the connected devices that are available for assignment.
Note
Use the complete URL that the third‑party application generates. The URL contains a session ID.
-
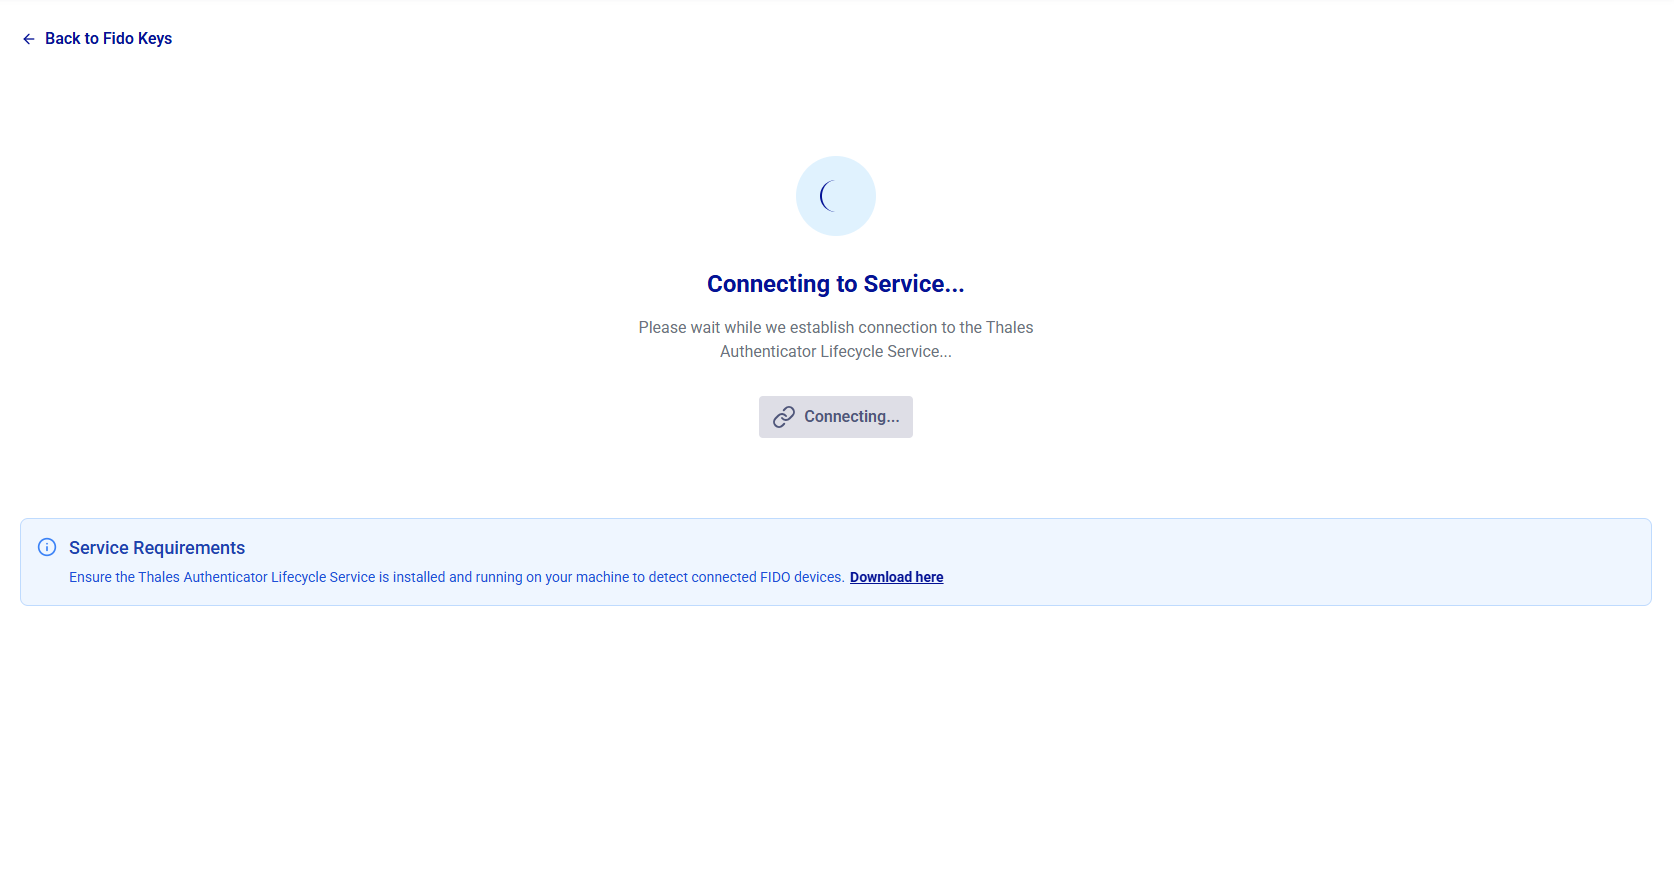
On the FIDO Key Management window, the connection to the Thales Authenticator Lifecycle Service (Windows service) is established automatically. If the service is stopped or the automatic connection attempt fails, click Connect to Service to retry.
-
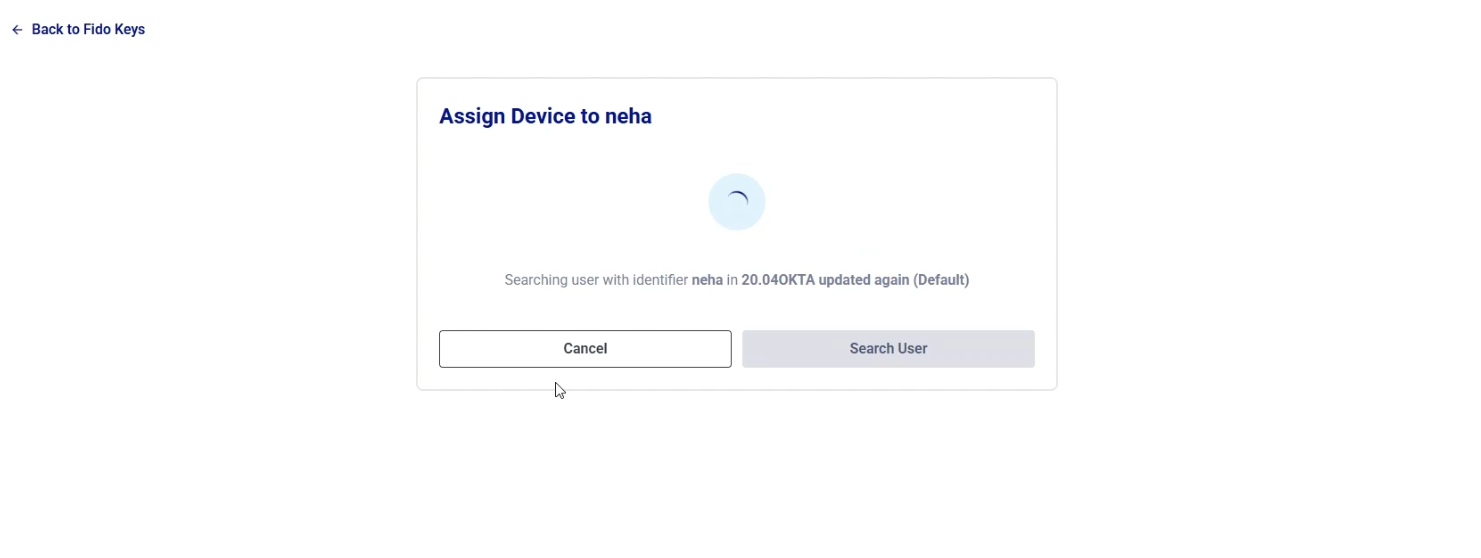
After the page connects successfully, the system retrieves the user associated with the session ID and maps the user to the tenant’s default IDP.
-
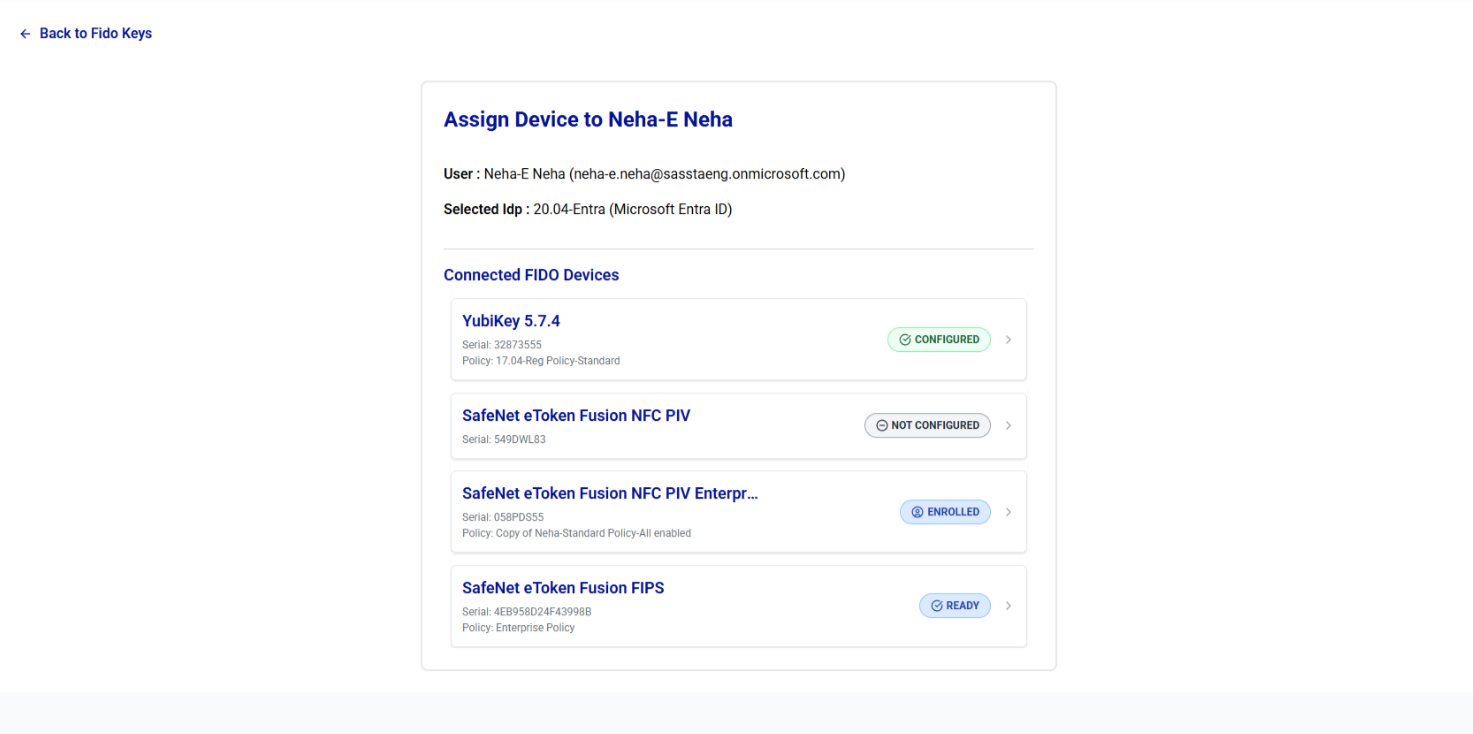
Review the list of FIDO devices currently connected to the workstation.
Devices that are not permitted for the session, as determined by the serial numbers associated with the session ID, are disabled and display the NOT ALLOWED status. You cannot select or assign these devices. Only devices permitted for the session are available for assignment.
-
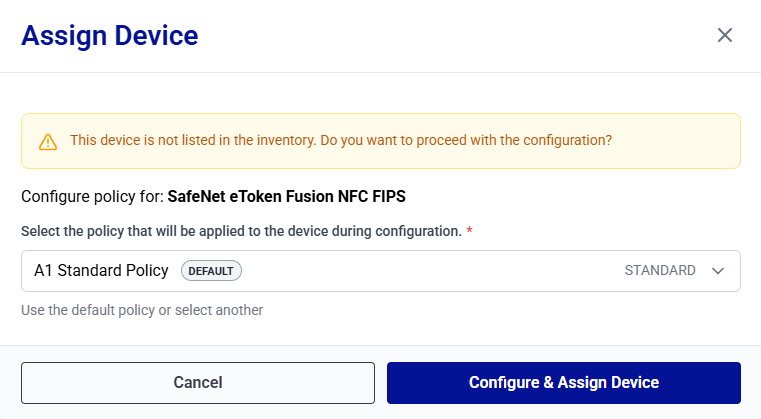
Select a device and proceed based on its current status:
-
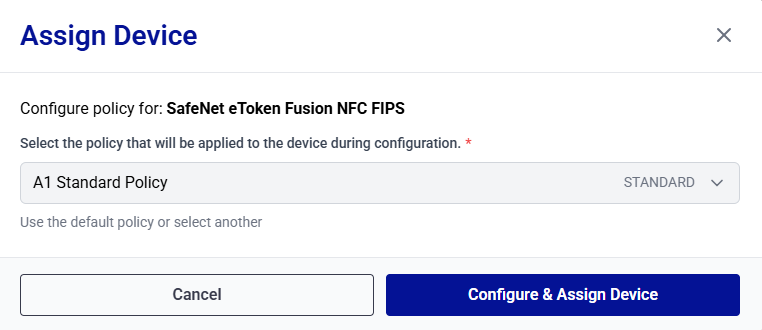
Not Configured: Select a policy and then select Configure & Assign Device to complete enrollment.
-
Ready: Use the linked policy and select Configure & Assign Device.
-
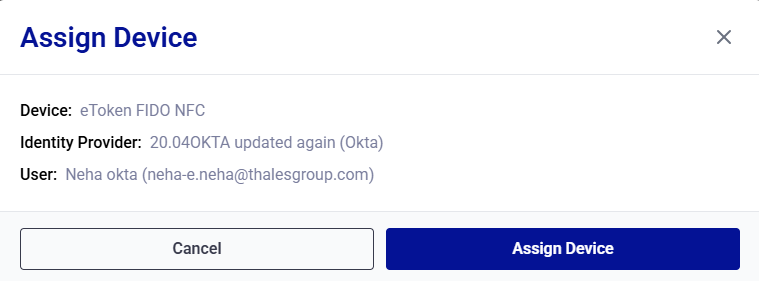
Configured: Select Assign Device to enroll the device for the user.
-
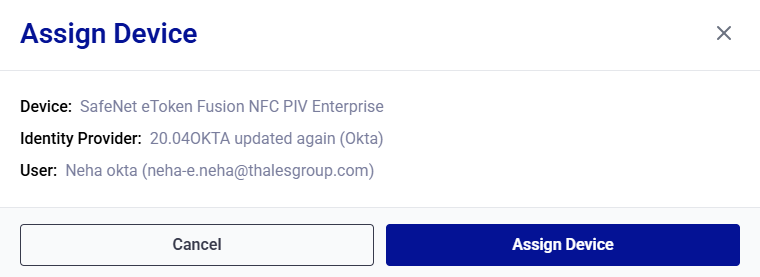
Revoked: Select Assign Device to enroll the device again for the user.
-
-
When prompted, follow the on‑screen instructions (for example, touching the device) to complete the passkey operation.
-
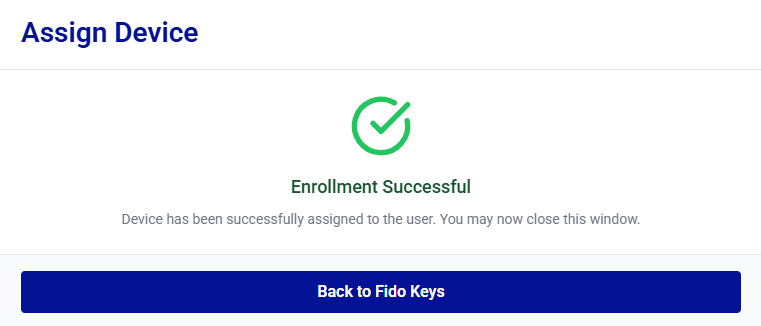
After the device enrollment is complete, the Enrollment Successful message is displayed. Click Back to Fido Keys.
Result
The device is successfully enrolled for the specified user, and a confirmation message is displayed. The enrolled device is available for authentication based on the selected policy.

