


Admin Roles
To access this page, navigate to Settings > Authentication > Admin roles.
Admin roles allow administrators to create custom roles by grouping permissions for different administrative responsibilities. During federation configuration in Thales Authenticator Lifecycle Manager, administrators map these admin roles to the corresponding groups or roles in the external identity provider (IDP). For more information about role mapping, see Admin Login.
Admin roles table
The Admin roles table displays the predefined and custom roles along with the permissions granted to each role.
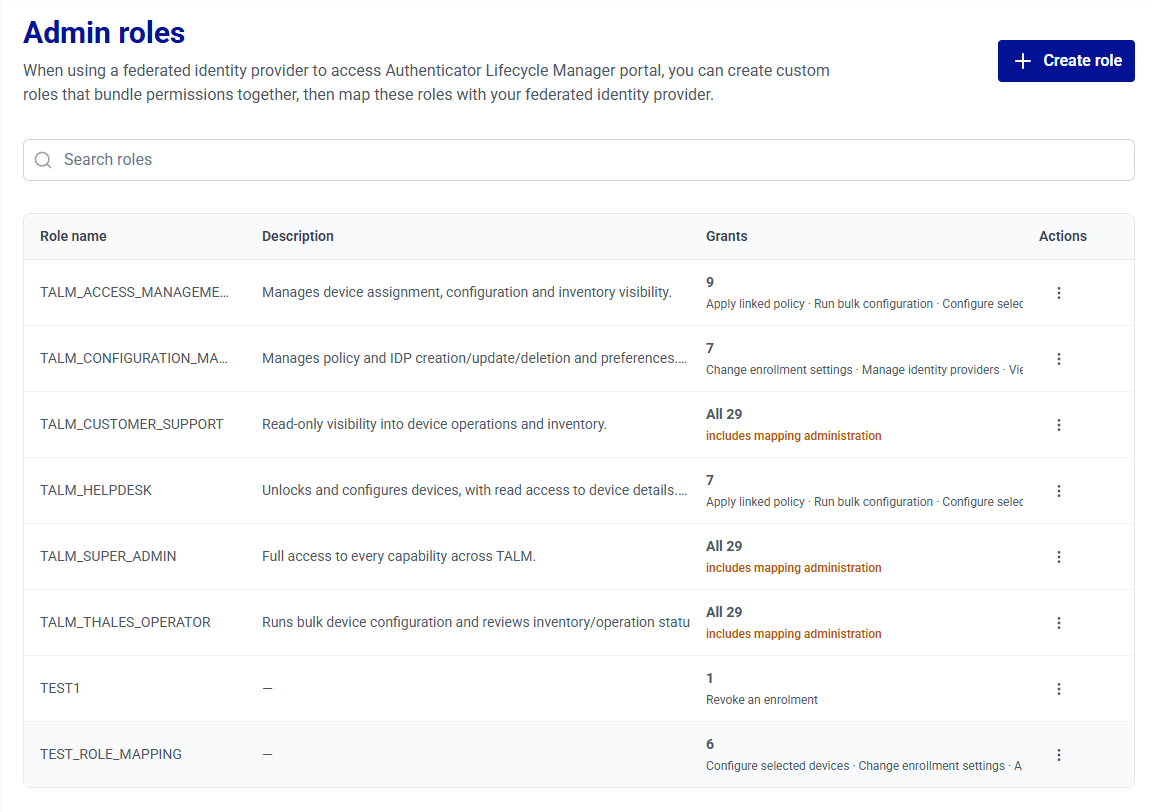
The following table explains each column.
| Column | Description |
|---|---|
| Role name | Name of the role. |
| Description | Description of the role. |
| Grants | Number of permissions granted to the role, followed by a summary of the permissions. Roles that grant all 29 permissions display All 29 and the includes mapping administration indicator. |
| Actions | Provides options to perform the following actions on admin roles: - Edit roles - Delete roles |
Use the Search roles bar to filter the list of roles.
Predefined roles
The following predefined roles are available.
| Role | Permissions |
|---|---|
TALM_ACCESS_MANAGEMENT |
- Manage device assignments and configurations - View device inventory |
TALM_CONFIGURATION_MANAGEMENT |
- Manage policies and IDPs - Manage preferences |
TALM_CUSTOMER_SUPPORT |
- View device operations - View device inventory |
TALM_HELPDESK |
- Unlock and configure devices - View device details |
TALM_SUPER_ADMIN |
- Access all Thales Authenticator Lifecycle Manager capabilities |
TALM_THALES_OPERATOR |
- Perform bulk device configuration - View device inventory and operation status |
Manage admin roles
Administrators can perform the following operations to manage admin roles:
Search roles
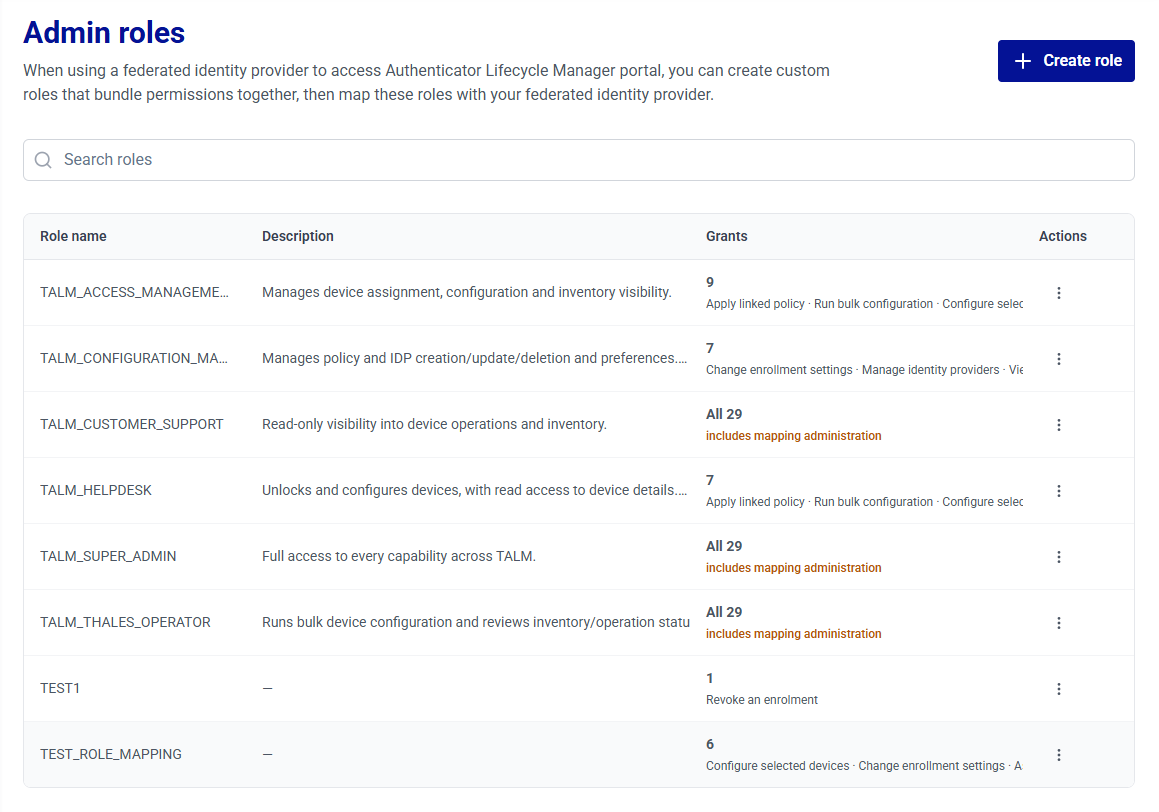
The search feature allows administrators to locate roles quickly. Use the search bar to filter roles and view their details based on the role name.
Create roles
-
Under Admin roles, click Create role.
-
Under Create role, complete the following fields.
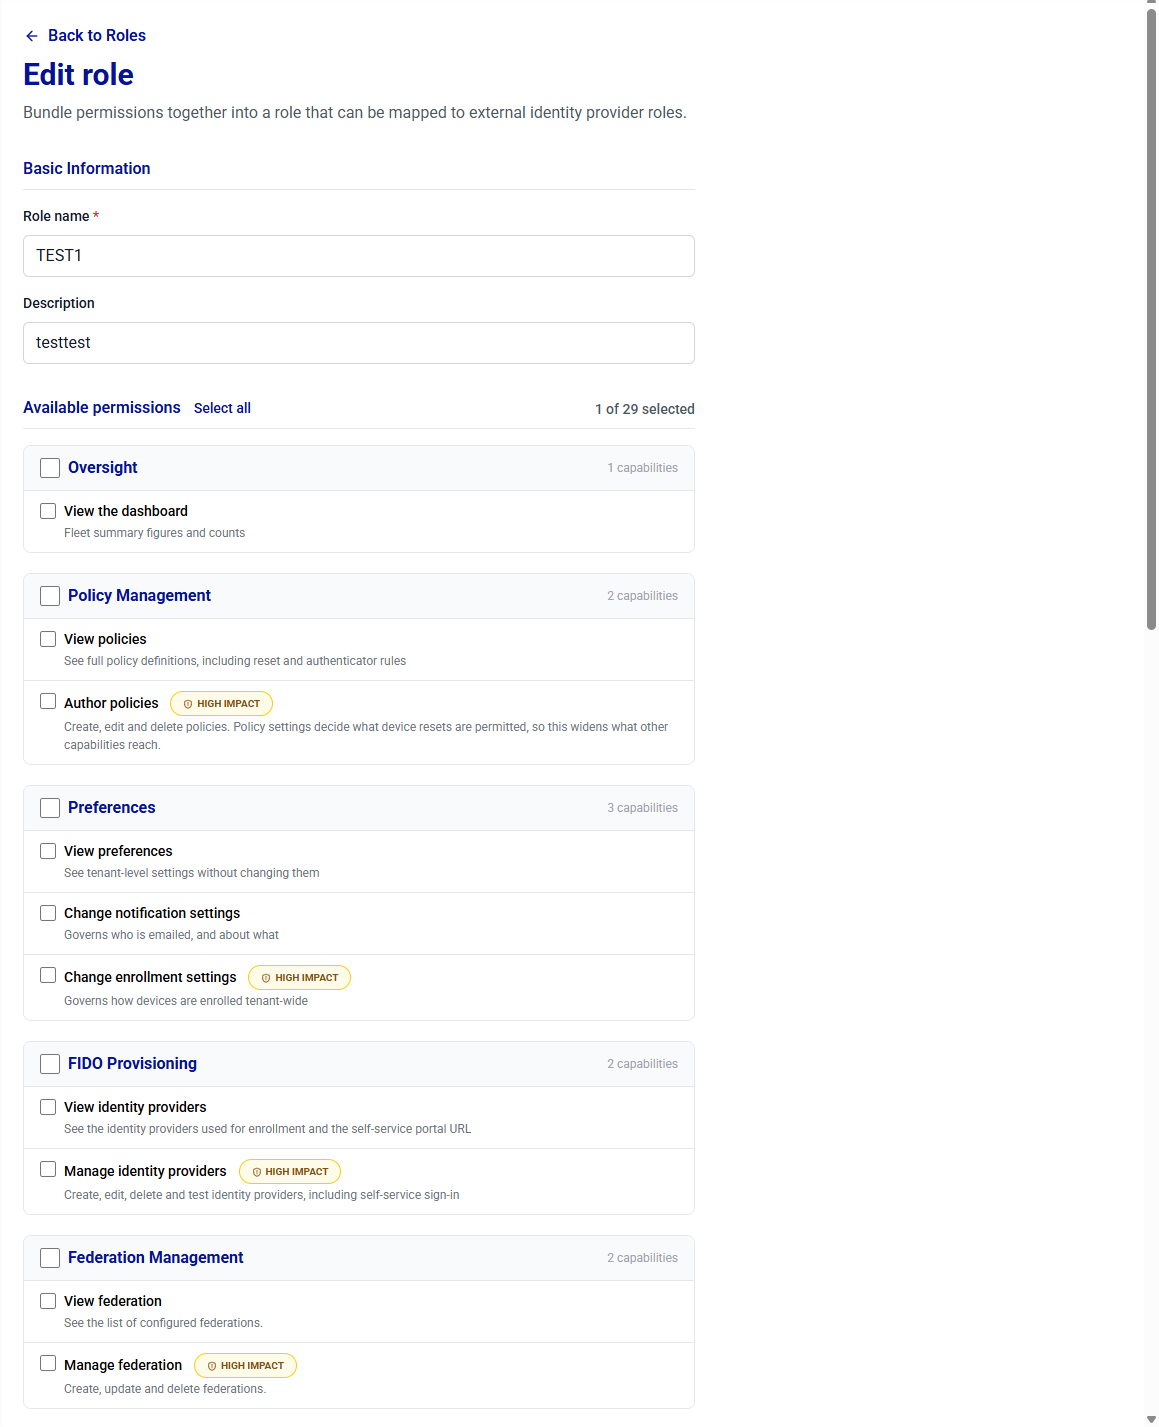
Field Description Role name A unique name for the role. Description A description of the role. Available permissions Select the permissions to grant to the role.
- To grant all permissions, click Select all.
- The counter (for example, 0 of 29 selected) shows the number of selected permissions.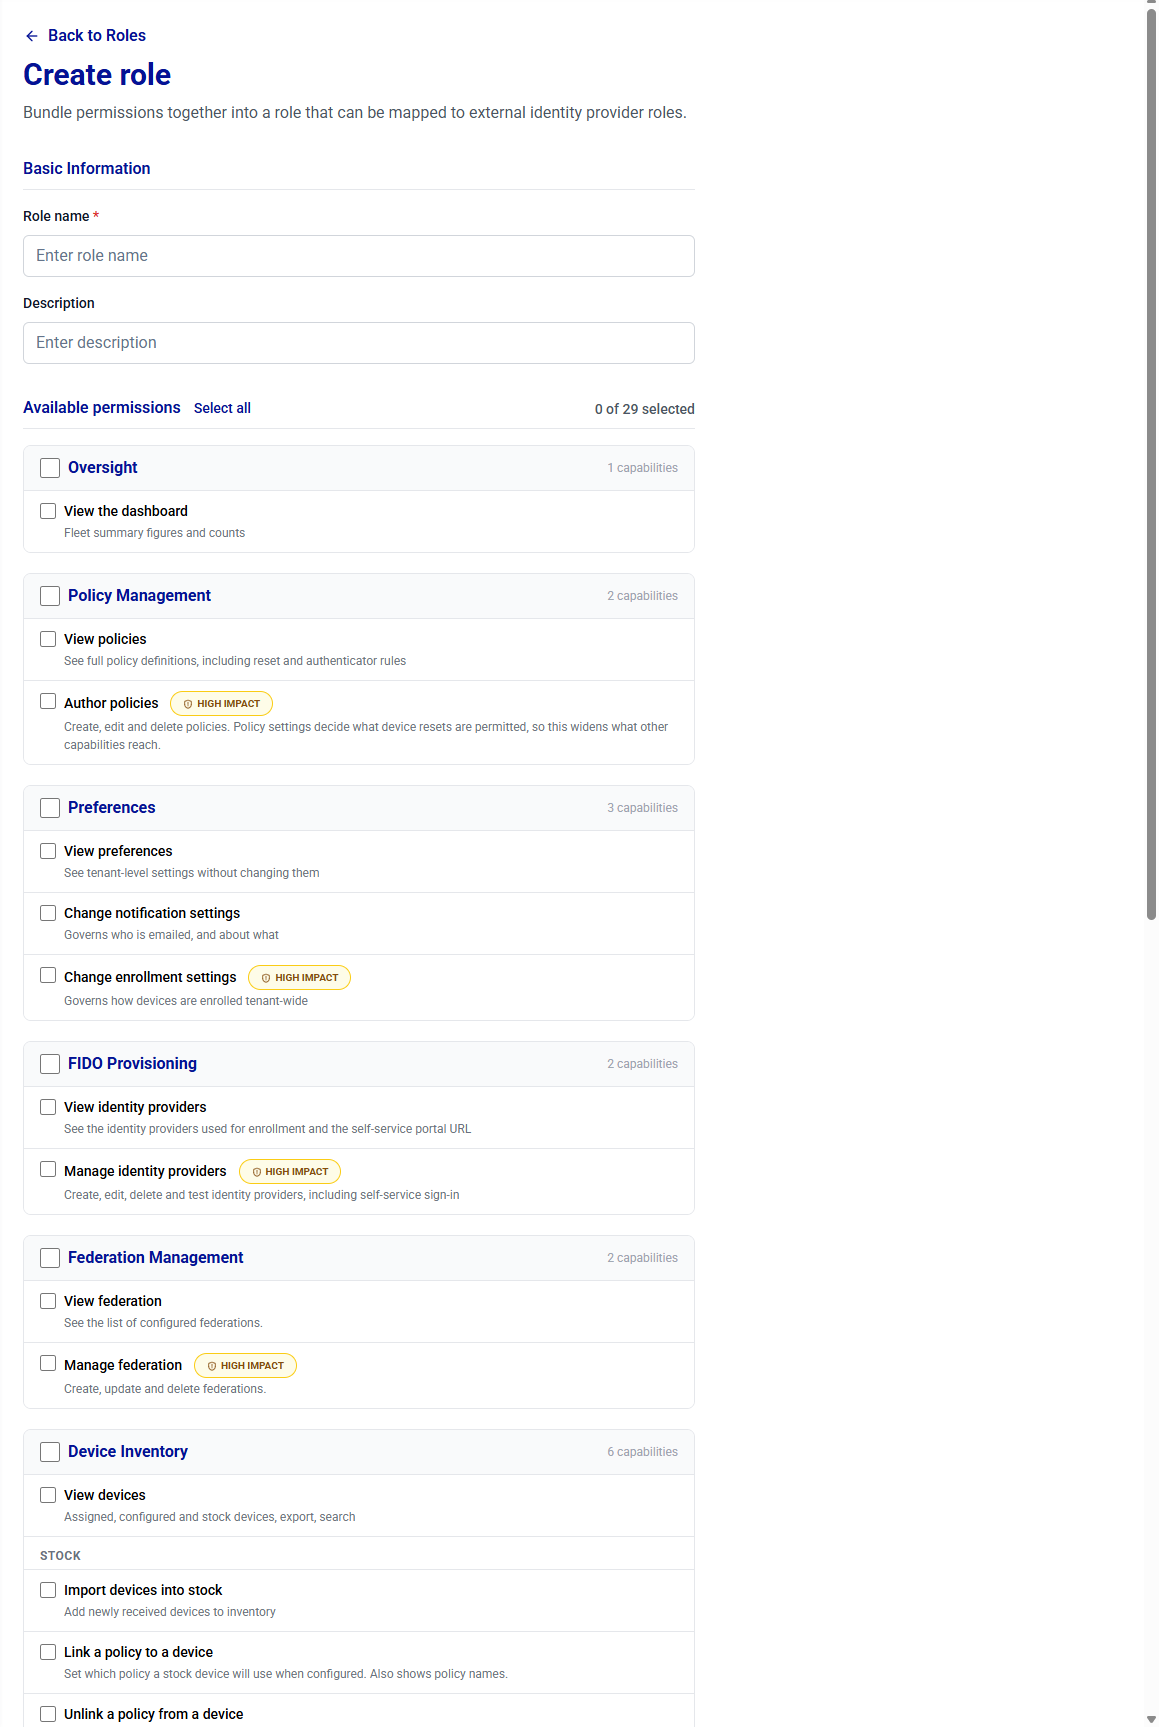
Permissions are organized into the following groups. Permissions marked HIGH IMPACT can significantly affect the tenant, devices, or administrator access. Grant these permissions only to administrators who require them.
Group Permission Description Oversight View the dashboard View fleet summary information and device counts. Policy Management View policies View complete policy definitions, including device reset and authenticator rules. Author policies (HIGH IMPACT) Create, edit, and delete policies. Policy settings determine which device reset operations are permitted and can affect the scope of other permissions. Preferences View preferences View tenant-level settings without modifying them. Change notification settings Configure notification recipients and the notifications they receive. Change enrollment settings (HIGH IMPACT) Configure device enrollment settings across the tenant. FIDO Provisioning View identity providers View identity providers used for enrollment and the self-service portal URL. Manage identity providers (HIGH IMPACT) Create, edit, delete, and test identity providers, including settings for self-service sign-in. Federation Management View federation View the configured federations. Manage federation (HIGH IMPACT) Create, update, and delete federations. Device Inventory View devices View, search, and export assigned, configured, and stock devices. Import devices into stock Add newly received devices to the inventory. Link a policy to a device Link a policy to a stock device for use during device configuration and view available policy names. Unlink a policy from a device Remove the linked policy from a stock device. Delete a device from stock (HIGH IMPACT) Permanently remove a device record from the inventory. Unlock a device remotely (HIGH IMPACT) Clear a device lockout remotely without requiring physical access to the device or proof of possession. FIDO Keys View connected devices View devices connected to the computer, including their status and stock order. Configure selected devices Apply a policy to selected devices and view available policy names. Run bulk configuration (HIGH IMPACT) Configure all devices that match the specified filter, including devices detected after the operation starts. Apply linked policy Apply the policy linked to a device through individual or bulk operations. Assign a device to a user Enroll a device for a directory user and search for directory users. Assign devices in bulk (HIGH IMPACT) Enroll multiple devices in a single operation. Unlock a device in hand Clear a lockout on a device that is physically available to the administrator. Reset a device to factory state (HIGH IMPACT) Reset a device to its factory state. Depending on the policy, the associated credential can remain active at the identity provider. Device PINs View admin PIN (HIGH IMPACT) View the administrator PIN for a device. View user PIN (HIGH IMPACT) View the enrolled user's PIN for a device. Retirement Revoke an enrollment Revoke a user's enrollment on a device. Revoke all enrollments on a device (HIGH IMPACT) Revoke all user enrollments on a device. Thales Authenticator Lifecycle Service Download the installer and configuration files Download the Thales Authenticator Lifecycle Service installer and configuration files from the Dashboard, FIDO Keys, and Inventory pages. -
Click Create Role.
Edit roles
-
Under Admin roles, search for and locate the target role in the list.
-
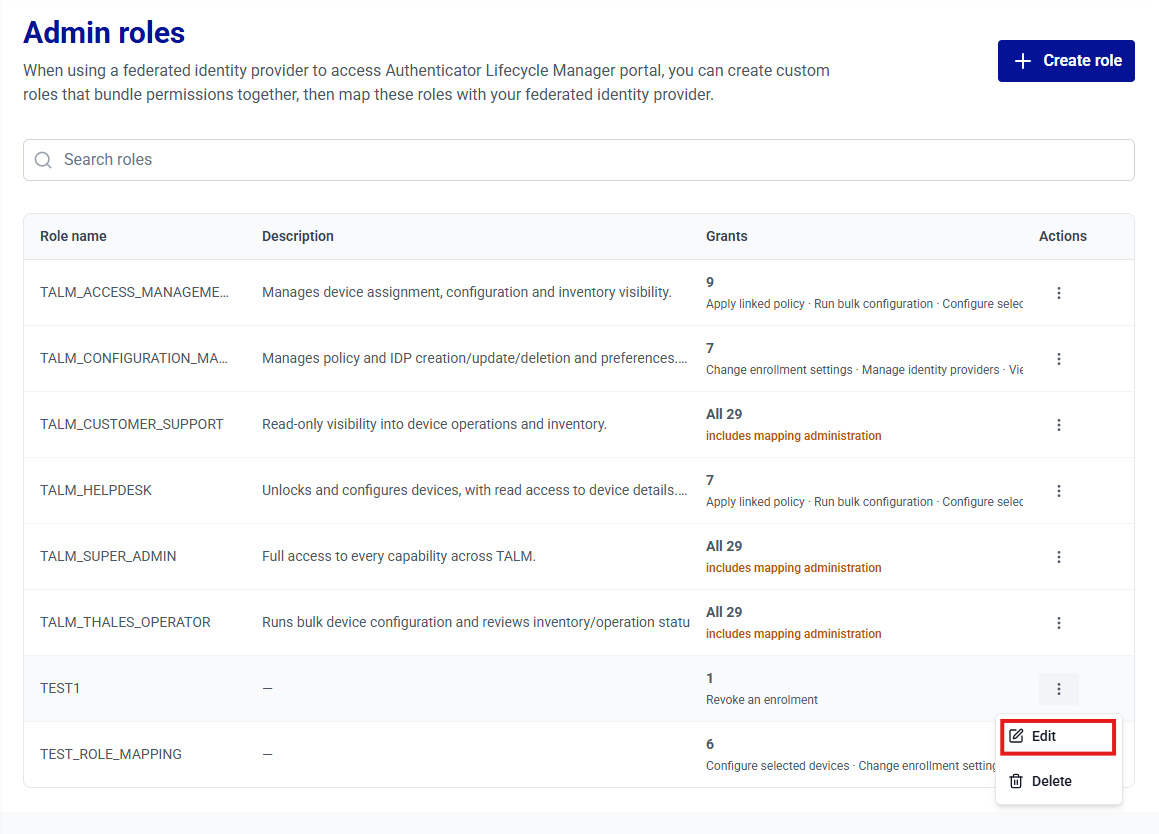
In the Actions column, click the three-dots
 icon for the role, and then select Edit.
-
Under Edit role, review and update the field values as required. For field descriptions, see Create roles.
-
Click Update Role.
Delete roles
-
Under Admin roles, search for and locate the target role in the list.
-
In the Actions column, click the three-dots
icon for the role, and then select Delete.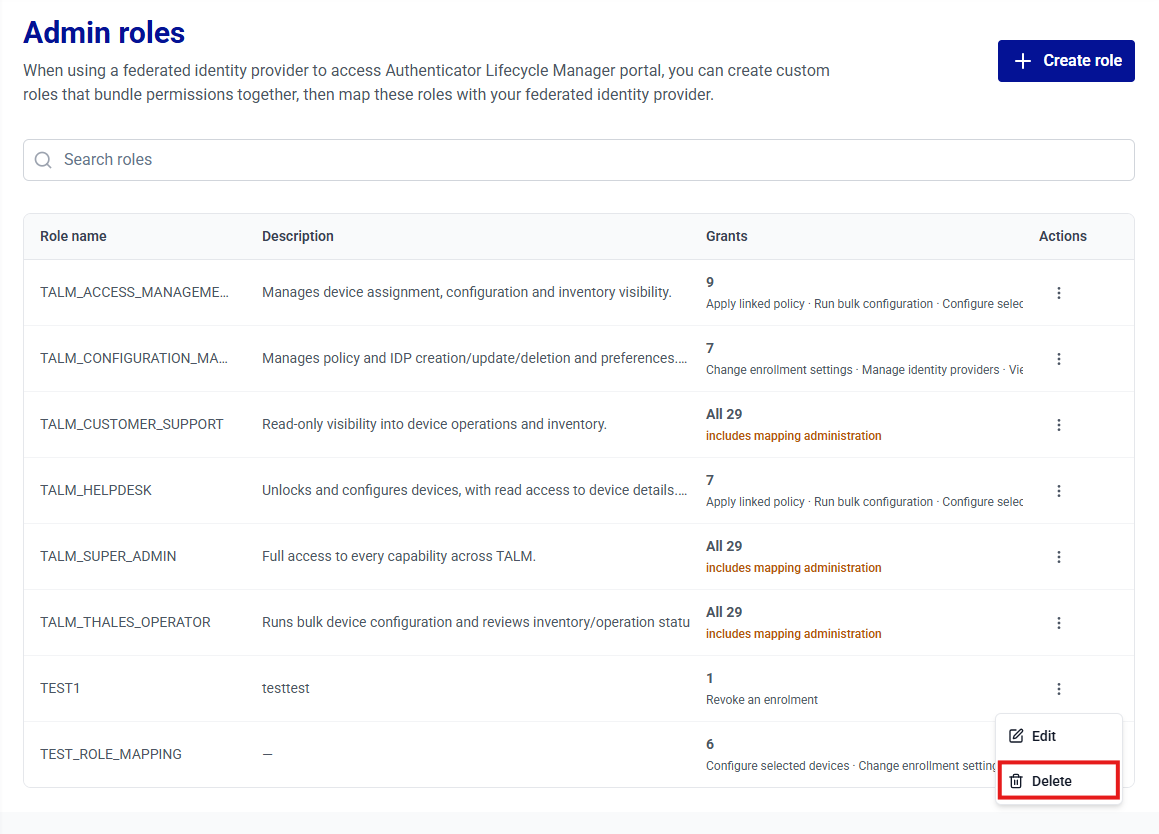
-
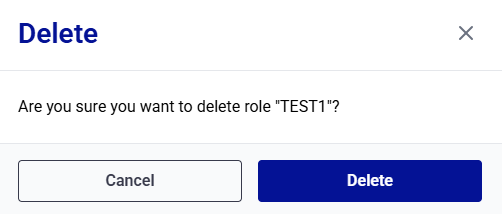
On the Delete window, click Delete to confirm the operation.
Caution
Before deleting a role, ensure that it is not used in any federation role mappings. For more information, see Admin Login.

